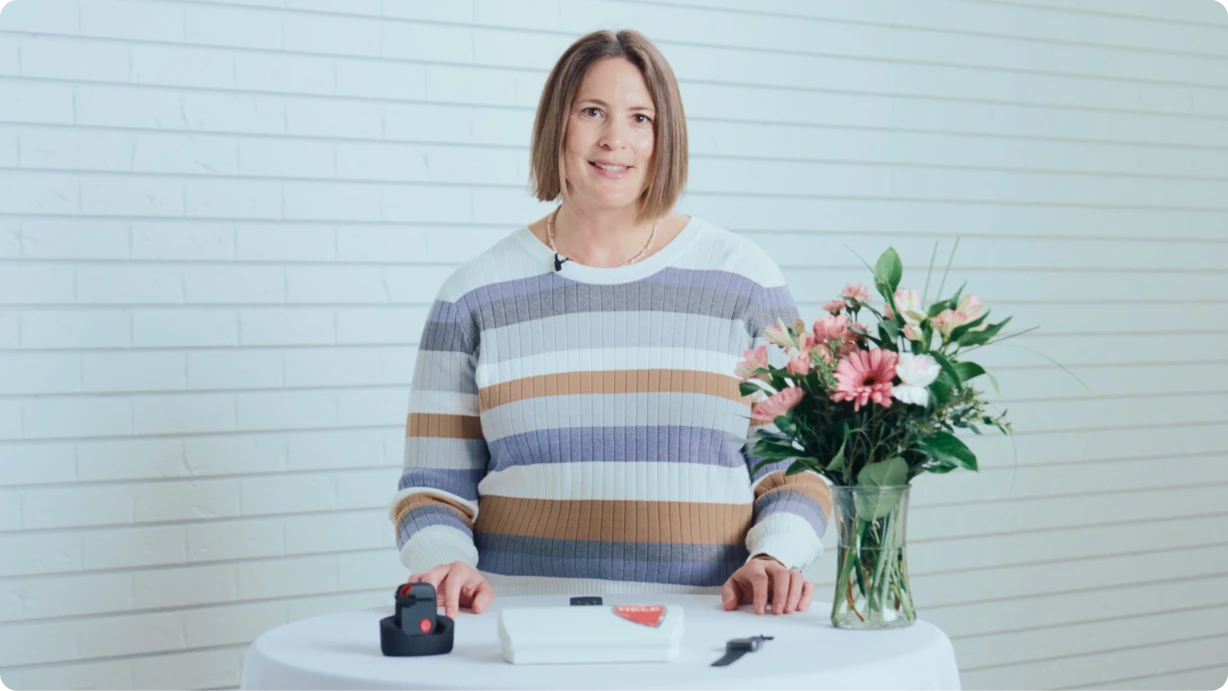


How to Use the SOS All-in-One Medical Alert System
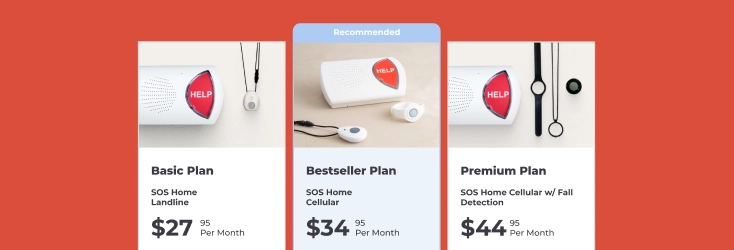
The SOS All-in-One medical alert device is designed The SOS All-in-One medical alert system is designed to protect you in and away from home. With the SOS All-in-One you don’t have to worry about the hassle of managing multiple devices for 360 degrees of protection.
Unboxing the SOS All-in-One medical alert system:
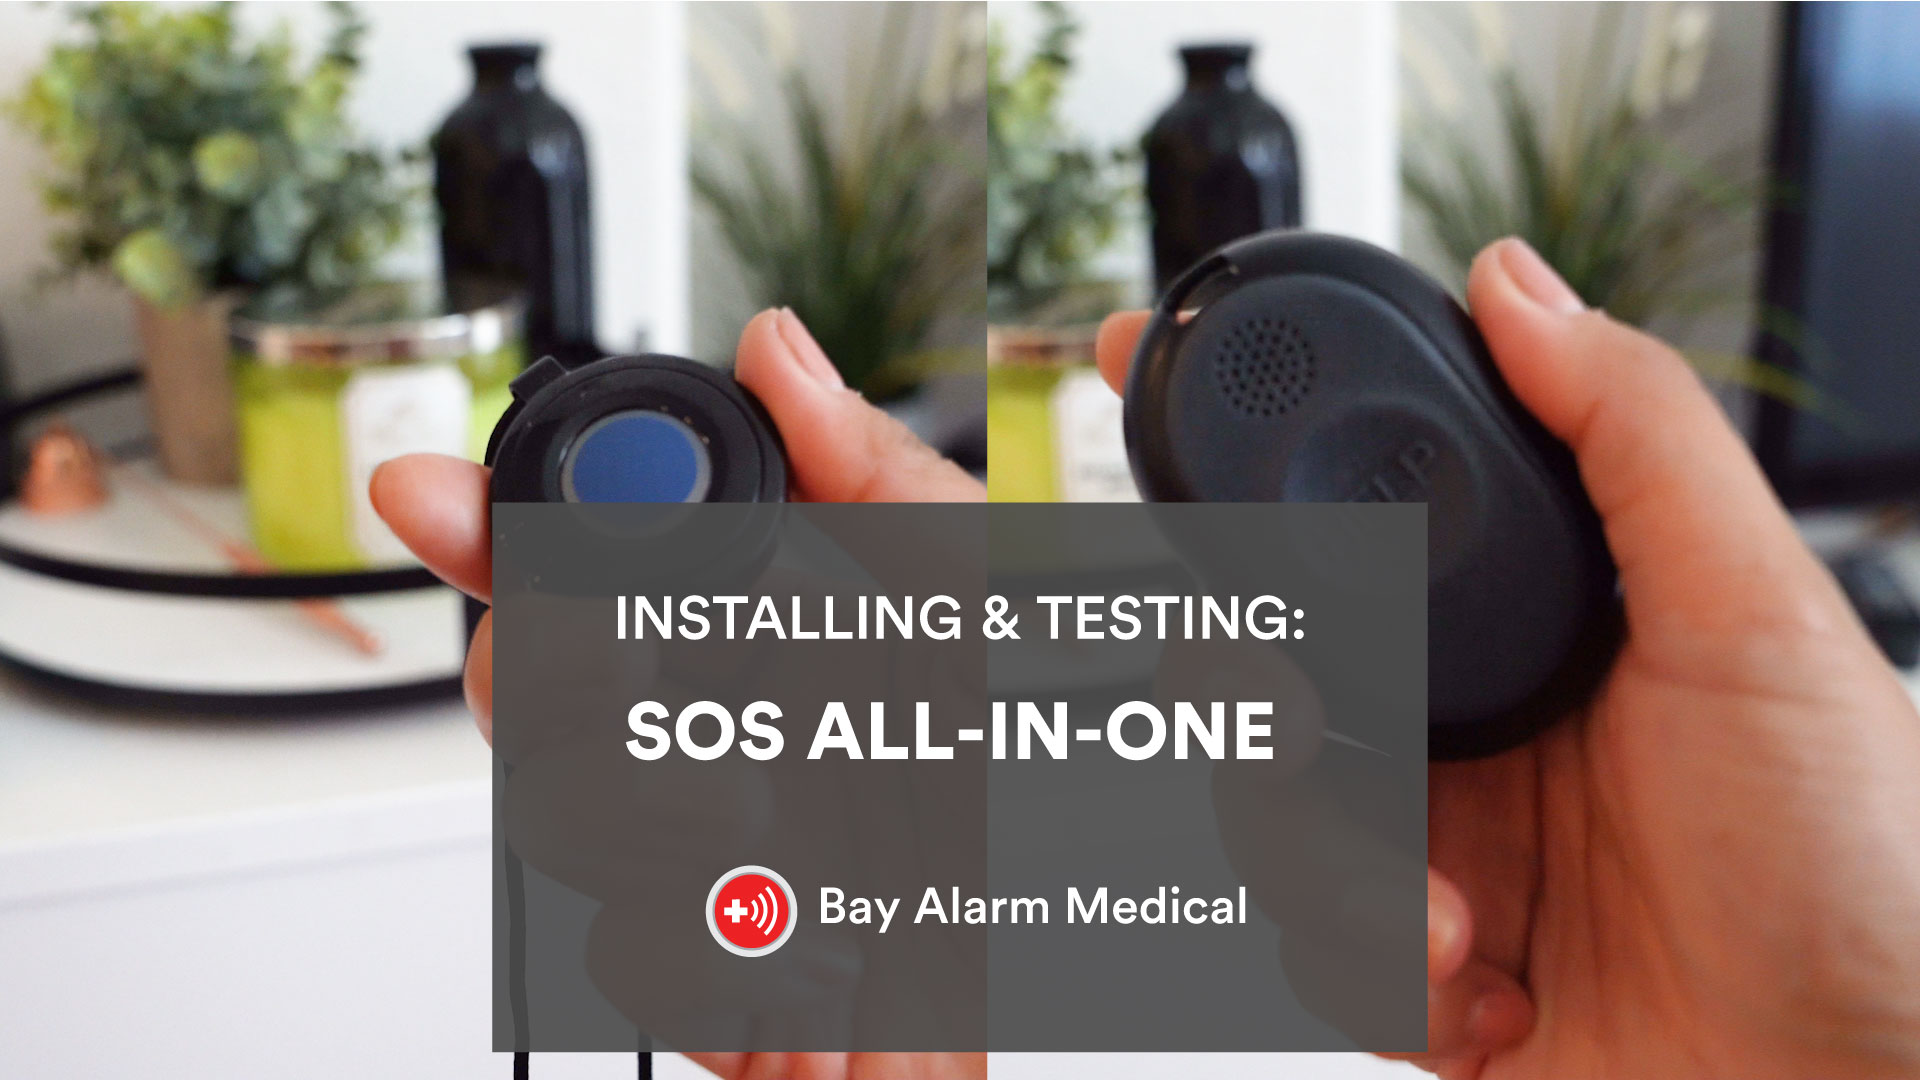
Installing & Testing the SOS All-in-One medical alert system:
Installing the SOS All-in-One:
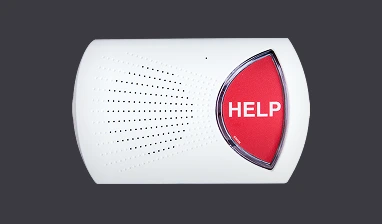
STEP 1: Plug the charger into a standard wall out and place the device on the charger. The device will automatically turn on. Once you receive your Bay Alarm Medical package, please charge your device for 2-4 hours before using it to make sure it has a full charge.
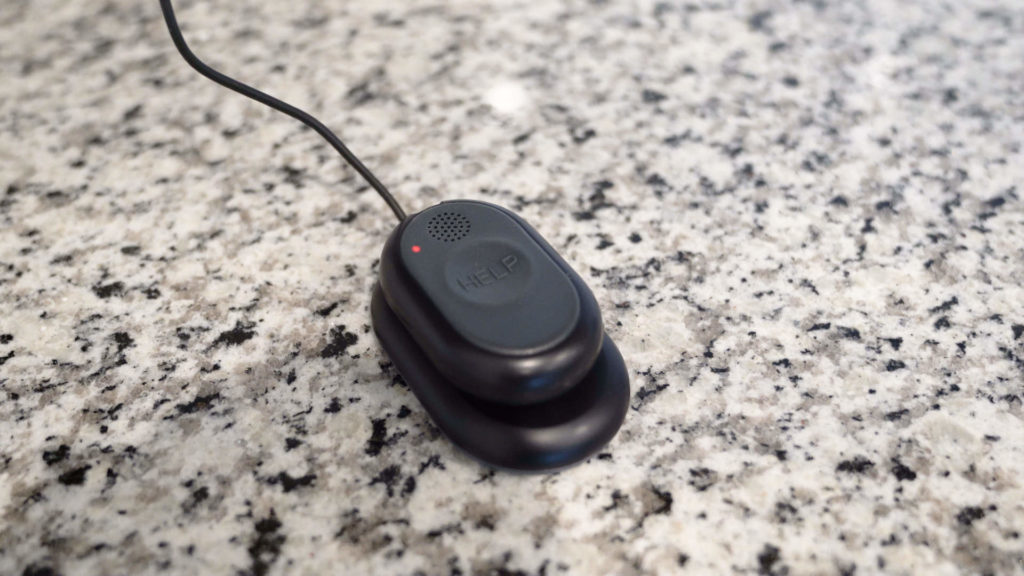
STEP 2: The LED light on the device will turn RED and announce: “Your device is now charging”. When the device is fully charged the LED light will turn GREEN and announce: “Your device is now ready.”
Tip: If the device is not on, press and hold the “HELP” button for 3 seconds. It may announce: “Hello it is time to test your system to make sure it is working properly. Please press and hold the HELP button for 3 seconds now.”
STEP 3: Test your device.
Placing an Emergency Call or Testing the All-in-One Device:
STEP 1: Press and hold the HELP button for 3 seconds. It will announce: “Placing an emergency call now.”
STEP 2: The device will now make a call for help and the button can be released.
STEP 3: If the call cannot be placed due to poor connection or other issues, the device will announce “Call failed.” Please stay calm and attempt to call again by pressing and holding the help button again for 3 seconds.
STEP 4: Once connected with a live dispatcher, let them know your emergency needs. If you are running a test, simply let them know you are okay and just testing.
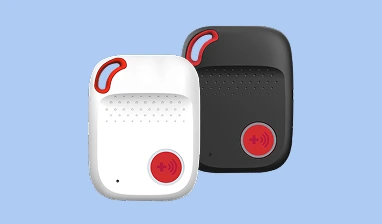
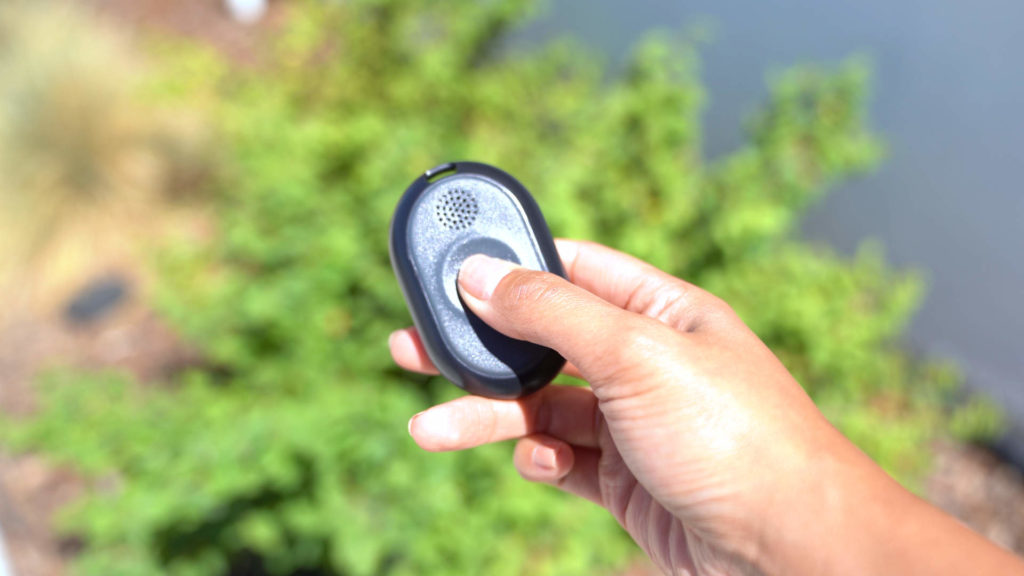
Placing an Emergency Call or Testing the Wearable Combo Button:
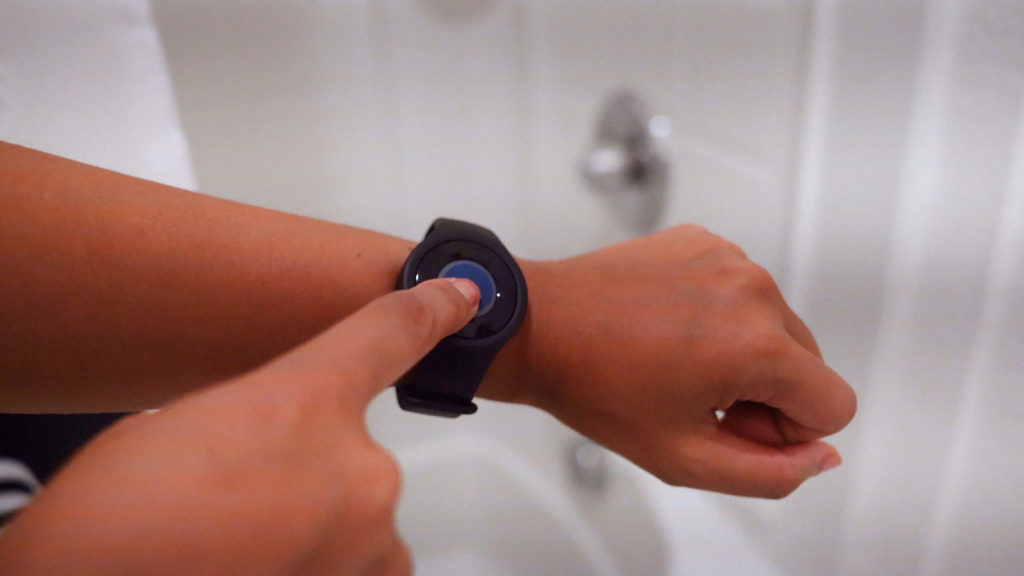
STEP 1: Press the Wearable Combo Button once to trigger an alarm. You do not need to hold the wearable combo button for 3 seconds.
STEP 2: Let the alarm connect to a live dispatcher from our monitoring center.
STEP 3: Once connected with a live dispatcher, let them know your emergency needs. If you are running a test, simply let them know you are okay and just testing.
TIP: Please test your wearable combo button in different areas of the home, specifically high risk fall areas and commonly used rooms. This way you are comfortable with how it works in your home.
Note: The range from the All-in-One device to the Wearable button is about 600 feet. This may be disrupted if there are interferences such as cement or brick walls or poor network connection in the area. So it’s always a good idea to test the button to be comfortable with how far you can go in your home from the device.
WARNING: Even though the All-in-One device offers to option to cancel an alarm, it is always best to void that message and allow the alarm to go through to the monitoring center. NEVER cancel an alarm for any reason. While we do not charge alarm fees, Bay Alarm Medical is not responsible for fees made by your city of residence for false alarms.